What is sourdough bread?
Sourdough is slow-fermented, naturally leavened (risen) bread. It doesn’t need commercial yeast (or chemical leavening agents, like baking soda or baking powder) to rise because it contains a live-fermented culture – or sourdough starter.What’s in sourdough starter?
The key ingredient to quality sourdough bread, a sourdough starter is a live culture made from water, flour and wild yeast. As this mixture sits at room temperature, the sugars in the flour ferment, cultivating the wild yeast and “good-for-you” bacteria, which multiply lactic acid. The starter is what makes the bread rise and it’s what makes sourdough – well, sour!Why do people love sourdough bread?
Along with its crackly crust, chewy texture and slightly tangy taste, sourdough bread is a rich source of vitamins, minerals – and even antioxidants. It’s typically made from only three ingredients, water, flour and salt, meaning it’s vegan, and, though not traditionally gluten-free, some gluten-sensitive folks are actually able to stomach it. This is because as sourdough starter ferments, it breaks down the gluten in the flour, which, when baked, makes the bread more digestible and able to be more easily absorbed by the body. You can also prepare a gluten-free loaf with Cultures for Health Gluten-Free Sourdough Bread Starter. *If you’re gluten intolerant or suffer from gluten sensitivities, be sure to talk to your doctor about it before you try sourdough bread.How to make sourdough bread
Step 1: Start your starter
First things first – you need to start your sourdough starter and keep it alive. That means regular feedings (one to two times per day when stored at room temperature or once per week if stored inside the fridge). Most sourdough connoisseurs say it’s better to obtain an aged starter because it will typically have a stronger, more robust flavor when baked. Ask around – or befriend a local baker because they’re likely caring for a “mother dough” somewhere, and they may just share with you! If you don’t have access to a starter, follow the directions below to create your own.Sourdough starter recipe
On day one, gather the following:- 1 cup whole wheat flour
- ½ cup filtered, room-temperature water
- 1-liter glass jar with lid
Step 2: Feed your starter
Something between caring for a plant and a pet, you’ll need to feed your sourdough starter faithfully to keep it healthy. On day two (after 24 to 48 hours), you should start to see tiny bubbles forming (it’s alive!). Discard all but ½ cup of the starter, then add another 1 cup whole wheat flour and ½ cup filtered room-temperature water. Allow mixture to sit for another 24 hours. Day three is when things start getting interesting. Depending on the temperature of your kitchen (warmer = faster fermentation; colder=slower fermentation), your starter should really be starting to bubble, and even starting to peak – that is, rise. This means the starter is still in the process of “eating.” The key here is to wait until it starts to deflate. Though this is a subtle difference, you’ll be able to tell it’s deflating because of the trail it leaves behind (you can even mark the levels of your jar with a sharpie), and it will start to look a little more liquid-y/bubbly than puffy. Now is the optimal time to feed your starter. Next, mix up that starter (as often liquids will have separated as it sits) and repeat yesterday’s steps, discarding all but ½ cup of your starter, then adding in 1 cup whole wheat flour and ½ cup filtered room-temperature water. On days four through seven, feed your starter 1 to 2 times per day, at 12-ish hour intervals, depending on how quickly it’s “eating” the new flour you supply it. Stir the starter, discarding all but ½ cup, then add in 1 cup whole grain flour and ½ cup filtered room-temperature water. Feed your starter in this same manner at 12-hour intervals – as long as it’s “deflating” and not still in the process of “eating.” If the sourdough starter is peaking and not deflating come feeding time, then leave the starter for another 12 hours before you feed it again. At the end of the week, you should have a bona fide healthy sourdough starter on your hands! On day 7 and beyond, your starter has gained a foothold, consistently doubling in size each day, you can store it in the fridge and lower the feeding frequency to once per week. On “feeding day” remove the starter from the fridge and let it sit out for at least a couple of hours so it can warm back up to room temperature and get fermenting again.Step 3: Bake day(s)!
Finally! The moment you’ve been waiting for. After all that hard work nurturing your sourdough starter, it’s time to reap the “loaf” of your labors with freshly baked sourdough bread. Keep in mind, this is yet another patience-testing process, so keep calm and sourdough on! Depending on how sour you want your bread, after feeding, you can let it sit 4 to 8 hours before baking (more time = more sour; less time = less sour). *Remember, if you store your sourdough in the fridge, be sure to pull it out and allow it to warm up to room temperature.Ingredients
2 cups unbleached all-purpose flour (or bread flour) ½ cup room-temperature sourdough starter 1½ cups room-temperature water 2 tsp. salt Optional (recommended by baking expert Jess from Crazy Cakes):- Switch out the cup of water with 1 cup Guinness Beer for a beautifully dark crust and extra-robust flavor.
- Add in 1½ Tbsp. organic honey for a rich, irresistible sweetness (which pairs well with the sourness)
Butter and bite
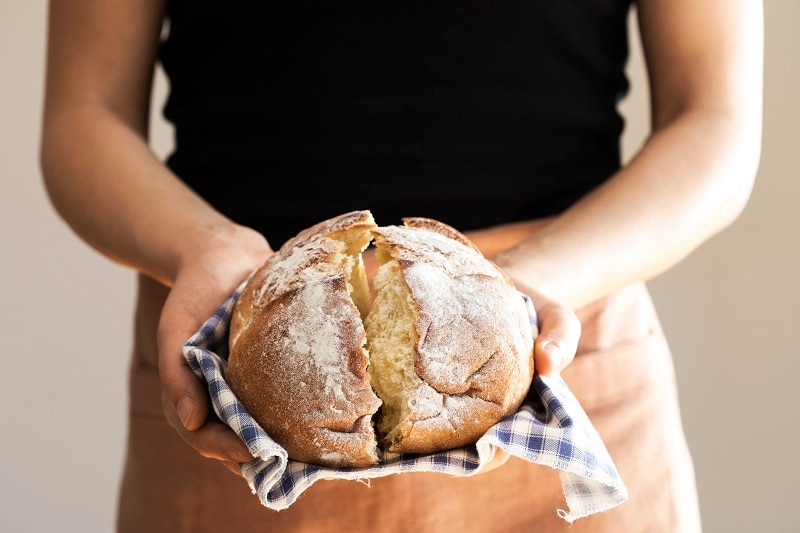
All done? Slice off some of that warm sourdough bread, slather on some butter (or olive oil!) and bite into that fluffy, chewy texture sent from above. Remember, it’s a bit of an experiment each time you bake sourdough bread – let alone feed your starter – so don’t give up if your first few loaves aren’t exactly up to your expectations. Keep trying out new recipes and share the tips and tricks you learn along the way with the other bread fanatics in your life!Featured product
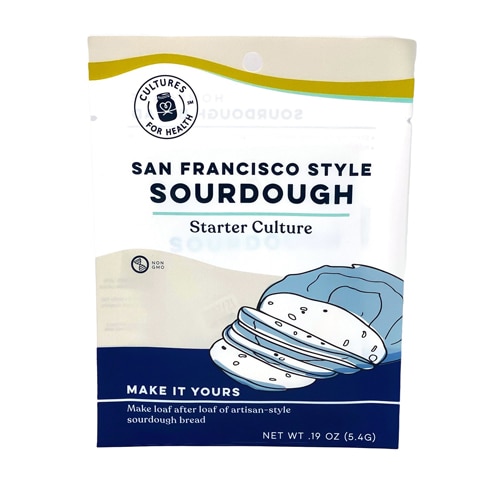
Cultures for Health San Francisco Style Sourdough Bread Starter Culture


