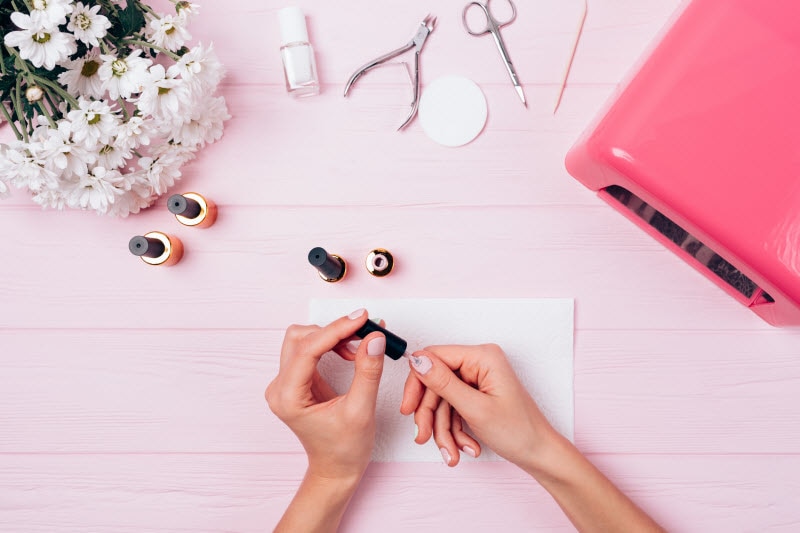
There’s nothing quite like a fresh manicure—it feels pretty and clean, and it keeps your hands looking picture-ready, especially when paired with fun accessories, like statement rings or funky nail art. And going for bold, bright
nail polish colors, ombre designs, and cool nail art is right on trend now, since the manicure not only looks chic, but it gives an undeniable edge that really highlights your personality.

Of course, relying on the pros and getting a manicure at a nail salon or spa guarantees beautifully polished nails. Yet, we don’t always have the time to squeeze in an appointment or the budget to get it done professionally. So, knowing how to give yourself a manicure at home is helpful. If you harness those skills and practice, it might even become a fun hobby!
How to Give Yourself a Manicure
Get the supplies you need
For starters, get
the tools you need to groom your nails, as that’s just as important as applying the polish.
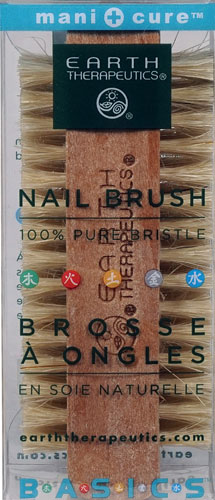
“I recommend purchasing a nail file, buffer, clippers and a cuticle remover as part of the tools you need to use for a DIY manicure,” says Ren Wu, Co-Founder of
Maniology. You’ll also need
nail polish remover to remove existing polish and to touch up smudges, as well as cuticle oil, which will help keep your nail beds and cuticles moist.
For a truly professional experience, get some orangewood sticks, a UV lamp, gel polish and acrylic nailbrushes (for manicures that are more complex than a simple polish job – for example, if you want an acrylic or gel/shellac/no-chip manicure).
Remember to avoid harsh nail care products, as these can damage your nails and expose you to toxins. Sanitize your tools before and after each use to prevent any infections.
Easy does it
A basic manicure is easier than you think. Start by washing your hands with a luxurious
hand soap and using the tool on your nail clippers to remove any dirt beneath your nails.
“Now, all you need to do is clip your nails, gently file and
buffer them and finally use the cuticle remover,” says Wu.
Square or circle shape is up to you – just make sure the tips look even and smooth. You’ll want to avoid cutting straight across your nails for easier filing. Move the file in short, one-direction strokes to shape.
You can also use a cuticle pusher to gently push back your cuticles. Apply
cuticle cream or oil afterward to soften them. Let your hands rest for a bit to fully dry before applying polish.
DIY gel manicures
The great thing about gel polish is that it lasts longer (up to two weeks!) than regular polish. Gel or shellac manicures at home also are much less expensive than salon jobs, as it’s easy to find the polish, UV lamp and other supplies you need online or at a beauty supply store at an affordable price.
You’ll need a base coat or a
no chip lacquer, color coat,
top coat, rubbing alcohol and acetone – all of which are easy to find.
Note that gel polish needs to dry under UV light, which shortens drying time and helps your manicure last longer. Drying time can differ for gel or shellac polishes. Some gels dry in just 30 seconds, while others (like shellac) may need an extra minute tacked on. Always read directions on polish bottles and use the UV light properly so your manicures dry as they should.
First, remove existing gel polish
If you’ve previously had a gel manicure and need to remove the polish, take the following steps to remove it.
Buff your nails, then spray a paper towel or cotton ball with rubbing alcohol and clean your nails. Next, soak nails in a glass or metal bowl filled with a mixture of warm water and acetone for 15 minutes. Alternately, you could soak cotton in water/acetone and place on your nails, wrapping with foil to keep the cotton in place.
Repeat the process until polish is removed and your nails are soft.
Gel polish steps
Start with a base coat (which helps keep nails healthy and the manicure last longer); dry under the UV light per instructions. Apply two coats of the gel nail polish color of your choice, and dry under UV light per instructions. Now, apply a top coat and dry again under the UV light.
While the finished nails might appear sticky – don’t worry! The polish won’t chip or come off. Simply apply a small amount of rubbing alcohol to your nails with a towel or cotton ball again to remove any stickiness.
Try some nail art
Nail art is a bit advanced, but if you work on it and practice, you can create unique, fun art that really brings out your personality.
“When it comes to nail art, one of the options to consider is nail stamping plates,” says Wu. “Not only would nail art lovers enjoy this, but even a beginner can explore a whole new world of creativity because of how simple and fun it is to create unique nail art,” Wu says.
Start with the stamps for ease, but also consider trying nail art tools, and give yourself time and patience to learn. Practice on a set of stick-on nails for fun. Fake nails come in various colors, sizes, lengths and designs. Many are inexpensive and some are durable, lasting up to two weeks.
Want to be on trend? Try an ombre or colored tips look. You might paint each nail a different color, with a thin line painted along the tips and some nail art to make them really stand out. An ombre style involves painting one half of the nail one color and the other half another color, allowing a fade/overlap for a two-toned look.
 Of course, relying on the pros and getting a manicure at a nail salon or spa guarantees beautifully polished nails. Yet, we don’t always have the time to squeeze in an appointment or the budget to get it done professionally. So, knowing how to give yourself a manicure at home is helpful. If you harness those skills and practice, it might even become a fun hobby!


