It sounds like a beauty miracle: nail color that doesn’t chip, peel or need touch-ups to maintain a mani-fresh look. Imagine ditching all the harsh removers. Not having to suffer the frustration of accidental smudges. All the money you’d save on salon visits or bottles of base coats, top coats and strengtheners for those DIY polish jobs.
Natural henna dye isn’t some breakthrough you missed in the beauty mags or trending news. It’s more of an ancient secret, something women in India and the Middle East have been using in their get-pretty rituals for hundreds of years. Chances are you’ve heard of henna, the natural plant dye that’s used to tint hair or create exotic pattern-work temporary tattoos on skin. But did you know it can be used to stain your nails?
Get hip to henna
Henna comes in a fine powder that’s mixed with an acidic liquid, like lemon juice, and set aside for a few hours or up to a day to activate. Once the plant’s natural dye compounds are released, the paste can be applied—to hair, skin or nails—to create a reddish-brown tint. The longer you leave it on, the darker and richer the color will be. And the effects last up to three weeks!
The best part is that henna is 100% plant powered—no parabens, no phthalates, no preservatives or chemicals of any kind to seep into your scalp or skin.
Ready, set, stain!
Tired of prissy pinks, over-the-top turquoises and too-playful-for-your-age purples? Henna will transform your nails to an alluring burnt orange shade, or a rusty dark red if you let it set for a few hours (or overnight). Be sure you’re ready to commit, though, because once it’s applied, henna color is there to stay. You’re literally staining your nails, not just applying a top coat—so a swipe of polish remover isn’t going to un-do the dye.
That said, henna staining your nails is fun and easy to do. Here’s what you’ll need to get started:
- All-natural henna powder
- Lemon juice
- Apple cider vinegar
- All-purpose glue
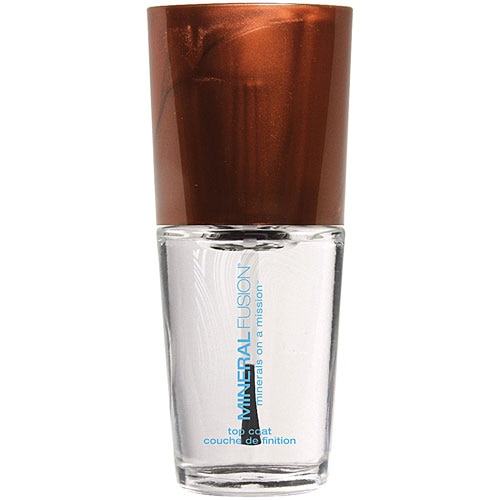
- Optional: clear natural nail polish
Step 1: Mix a henna paste.
Start by placing a tablespoon of henna powder in a small bowl. Add lemon juice, a tiny bit at a time (about 1/8 of a teaspoon), and mix well until a thick paste, about the consistency of mashed potatoes, forms. Cover the bowl with plastic wrap, and place it in the refrigerator for 6 to 12 hours (or overnight). You’ll know the paste is ready when the surface layer becomes a darker shade than the rest of the mixture (check by pushing it back with a spoon).
Step 2: Prep your nails and cuticles.
File nails to your preferred shape, and gently push back your cuticles. Wash your nails, then wipe them with a cotton ball dipped in apple cider vinegar to remove any lingering dirt or oils. To keep henna from staining the skin around your nails, apply a thin ring of all-purpose glue to cuticles and skin around nail beds. Let the glue dry completely before continuing.
Step 3: Apply the henna paste.
Using a nail brush, paint nails with several thin layers of henna paste. Work with very small amounts of at a time—just a dab will do! You’ll want to take extra caution not to drip or drop any on your skin or clothing, as activated henna’s staining effects are very powerful, and practically instant.
Step 4: Wait.
Let the paste dry for 30 minutes to an hour. If you want darker color, leave it on longer—several hours should be sufficient, but you can leave it on overnight. Again, remember the staining power! If you’ll be sleeping with henna paste on your nails, wrap them with tissue or an old towel before going to bed.
Step 5: Reveal the makeover!
To remove the henna paste, use a cotton ball soaked in lemon juice or apple cider vinegar. If you want a shiny finish, apply two or three coats of your favorite clear polish. If you’ll be leaving the stain au naturale, try not to get your nails wet for 12 hours.


