[vc_row][vc_column][vc_column_text]Are you all in for
spring cleaning? If you’ve hit your major areas, like closets, drawers and pantries, you may be ready to tackle your bathroom tiles or any tiles in your house. As you know, you can polish your floors until they sparkle but still have dingy, dirty, stained grout that can take away from the overall appearance of your room.

What is grout?
Maybe you’ve heard the word “grout” but are unsure what it is and why it needs to be cleaned. Familyhandyman.com
calls grout, a cement-paste based paste used to fill in the space between the tiles, the “unsung hero of the tiling world.”
Because grout is porous, it can get dirty and stained pretty easily. Liquid spills get absorbed immediately resulting in stains and speckled grout. Also, grout is recessed, so when you mop or sweep your floors, you don’t always hit it at the same time, and crumbs and debris can collect in the lines. Most people focus on the beauty of the tiles, but keeping the grout clean helps your floors look beautiful.
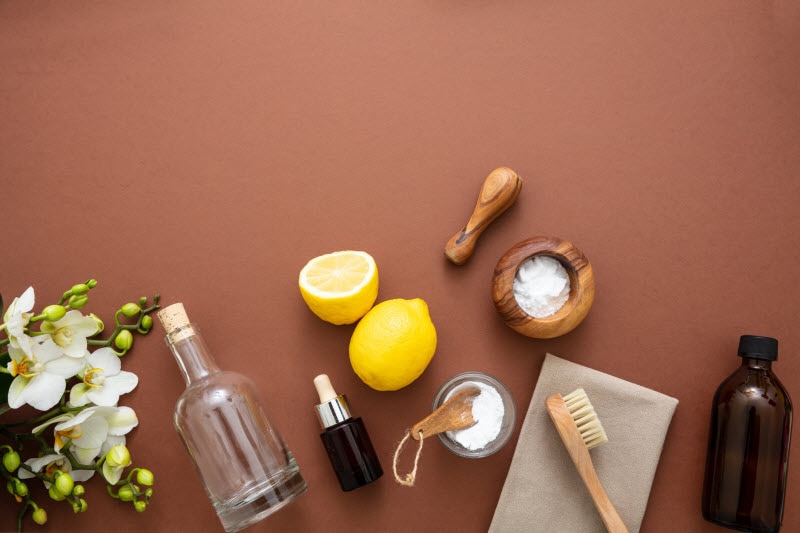
While there are plenty of strong, chemical-based cleaning products at your local hardware store, natural products are an effective and eco-friendly way to get rid of the dirt, mold, and mildew. Many store-bought cleaning products contain harsh chemicals that can be harmful to the environment, your family, and your grout. Additionally, when these chemicals are washed down the drain, they can end up in waterways resulting in adverse health effects on aquatic life and humans.
And lastly, you can save money on cleaning products by using ingredients that are already in your home! Here’s how to clean all the grout in your home with chemical-free products.
How to clean grout
Wipe down: First, wipe down the area to be cleaned with a damp cloth, microfiber, or
sponge.
Mix it up: There are a couple of cleaning mixtures you can whip up depending on your cleaning needs and ingredients on hand. The most basic grout-cleaning mixture is two parts
baking soda and one part water. This paste can help clean an average dirty floor. However, if you have some tough stains or it’s been a while since you’ve cleaned the grout (or you’ve never cleaned it), you can pump on the cleaning strength of your paste by replacing the water with white vinegar or
hydrogen peroxide.
Note: Remember to always first test a small inconspicuous area before using it on all your grout to prevent any potential damage or discoloration, especially if you’re using vinegar.
Apply mixture: To apply the paste, you can use an old toothbrush or a
firm scrub brush. For extra power, use an old
electric toothbrush if you have one hand. Before you put some muscle into scrubbing, spread the mixture on the grout and let it sit for five to 10 minutes.
Scrub: After you’ve let the paste dwell on the grout, which helps start to dissolve the stains, go to work scrubbing each line. Cleaning in a circular motion helps loosen the dirt and mildew before you wash it off. Put extra effort into brushing the tough stains. But don’t scrub too hard because you can damage the grout.
Rinse: After you’ve sufficiently scrubbed the dirt, rinse the cleanser and dirt away with warm or hot water. Make sure to get rid of any residual paste with a damp sponge. Then, let your tile dry for 24 hours.
Note: For tough or hard-to-clean stains, you may have to visit your hardware store and invest in grout cleaning tools such as a grout knife. A grout knife can be used to gently scrape the top layer of the grout to erode dark spots and stubborn mildew. But, again, use this knife carefully, so you don’t damage the grout.
Seal: To make sure your hard work lasts, apply grout sealer along the newly scrubbed and clean lines. For extra good measure, let the sealer dry for about three to four hours and then use a second coat.
These natural grout cleaning strategies can be used on the kitchen backsplash and all other tiled areas, such as showers and decorative tiles. You may not want to hear this, but you should repeat this process regularly so dirt, debris, mold, and mildew don’t build up. The longer you wait, the more challenging it can be to eliminate the stains.
You’ll be surprised how much better your tiled floors will look with bright, clean grout surrounding them.[/vc_column_text][/vc_column][/vc_row][vc_row][vc_column][vc_text_separator title="Featured Products" border_width="2"][vc_row_inner equal_height="yes" content_placement="middle" gap="35"][vc_column_inner width="1/3"][vc_single_image image="165834" img_size="full" alignment="center" onclick="custom_link" img_link_target="_blank" css=".vc_custom_1680120267702{padding-right: 7% !important;padding-left: 7% !important;}" link="https://www.vitacost.com/full-circle-grunge-buster-grout-tile-brush"][/vc_column_inner][vc_column_inner width="1/3"][vc_single_image image="165836" img_size="full" alignment="center" onclick="custom_link" img_link_target="_blank" css=".vc_custom_1680120312566{padding-right: 7% !important;padding-left: 7% !important;}" link="https://www.vitacost.com/mrs-meyers-clean-day-tub-and-tile-cleaner-spray-bottle-lavender"][/vc_column_inner][vc_column_inner width="1/3"][vc_single_image image="165835" img_size="full" alignment="center" onclick="custom_link" img_link_target="_blank" css=".vc_custom_1680120287491{padding-right: 7% !important;padding-left: 7% !important;}" link="https://www.vitacost.com/method-bathroom-cleaner-natural-tub-tile-cleaner-eucalyptus-mint"][/vc_column_inner][/vc_row_inner][/vc_column][/vc_row]


