By now, you’re probably aware that plant-based foods pack a huge nutritious bang for your caloric buck. The more you know about these types of foods (beans, nuts, seeds and grains in particular) the better you can maximize their nutritional power.
Methods like soaking (submerging ingredients in water for at least four hours) or sprouting (taking a seed and making it grow) have gained popularity due to several benefits – one of the primary ones being that they increase bioavailability (the amount of nutrients the body is able to absorb and use).
Whether you’re soaking walnuts to make a delicious pesto, sunflower seeds for a mouth-watering mock “tuna” pate or black beans for a hearty veggie burger, you can easily increase the nutrition of your meals.
Although soaking is pretty straightforward, when it comes to sprouting, more work (and research) is required.
Interested in taking another step toward a healthier lifestyle by sprouting your own seeds? Follow this simple four-step guide to get started!
1. Set up your sprouting supplies
Buying sprouted foods from the grocery store or farmers market can be pricy. Fortunately, the items you need to sprout on your own are not! Plus, you may already have a few of these things lying around.
Here’s what you’ll need:
- Large glass mason jar
- Small piece of cheesecloth
- Rubber band
- Seeds
- Optional: mesh sprouting lid (i.e. a mesh lid for your mason jar that makes the drain, rinse and repeat steps much easier. They’re typically less than $10 and, if you fall in love with sprouting, can be a great investment.)
2. Just add water!
Once you’ve grabbed your supplies, it’s time to put everything together! First, make sure that your container is thoroughly cleaned and your seeds have been rinsed in cool water. For your first batch, take half a tablespoon of seeds and add them to your jar.
Submerge the seeds in cool water. The water should be three times the depth of the seeds. Use a rubber band to secure a cheesecloth around the top of the jar. Place jar in cool, unlit area.
3. Drain, rinse, repeat
This is the most time-consuming part of the sprouting process and also the key to making sure that your seeds and sprouts don’t mold or spoil. Once per day, you’ll need to drain the excess water and rinse the seeds. The amount of times you’ll have to repeat this process depends on the type of seeds you’re sprouting. Once the majority of the seeds have sprouted (you’ll know when you see a small leaf appear) it’s time move on to the next step.
4. Add some light and enjoy
Remove the seeds from the jar. To get even more nutrition from your sprouts, expose them to sunlight for up to an hour a day. Once done, store seeds in an airtight jar in the refrigerator. Enjoy within the first five days to reap the most flavor and nutrition.
Sprouting tips for specific seeds
Although these steps are the same for all seeds, different ones have their own characteristics for growing time and soaking time. Here are some of the traits of the most popular sprouts:
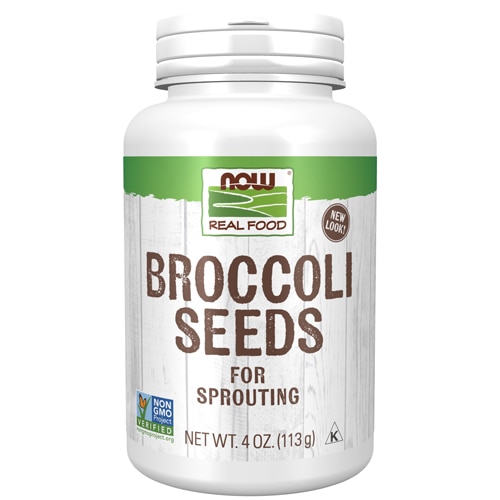
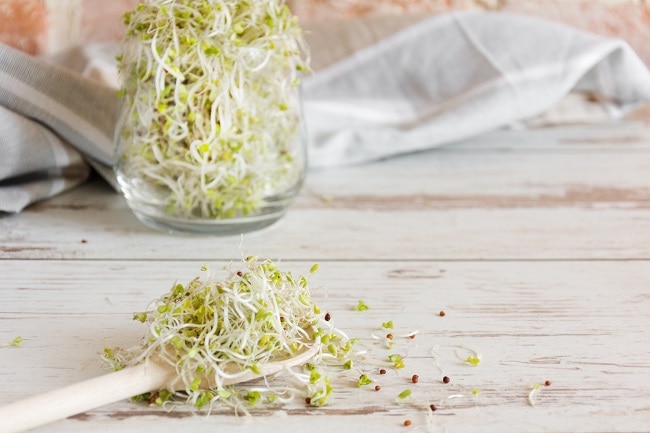
Broccoli sprouts: These sprouts tend to have a very mild flavor with a great crunch. Although easy to grow, broccoli prefers cooler conditions. So, depending on your home and climate, they may require additional rinses and draining daily. They prefer to be soaked for 8-12 hours a day and rinsed and drained twice a day. Your broccoli sprouts could be ready as quickly as three days.
Mung bean sprouts: These sprouts also have a delicious mild flavor and fantastic bite. Soak them for at least eight hours a day and drain and rinse them three times a day. Mung bean sprouts can be ready in two days, making them one of the quickest sprouting options out there. When ready, enjoy them in a Mayo-Free Asparagus & Mung Bean Sprout Pasta Salad.
Alfalfa sprouts: Mild in flavor, these easy-to-sprout seeds are great for beginners! Soak them for roughly 8-12 hours a day. Rinse and drain 2-3 times a day. Alfalfa sprouts should be ready within five days.
Ready to give it a shot? Shop your favorite sprouting seeds at Vitacost!


