Step into the shower and you might be met by an army of plastic bottles promising a world of healthy hair that delivers a dizzying array of ingredients.
Just like shampoos, the sentence above buries great hair between two evils:
- Harsh chemicals
- Single-use plastics
While it’s become easier to find
natural shampoos with simple, healthy ingredients, finding your way around that plastic bottle can seem
nearly impossible.

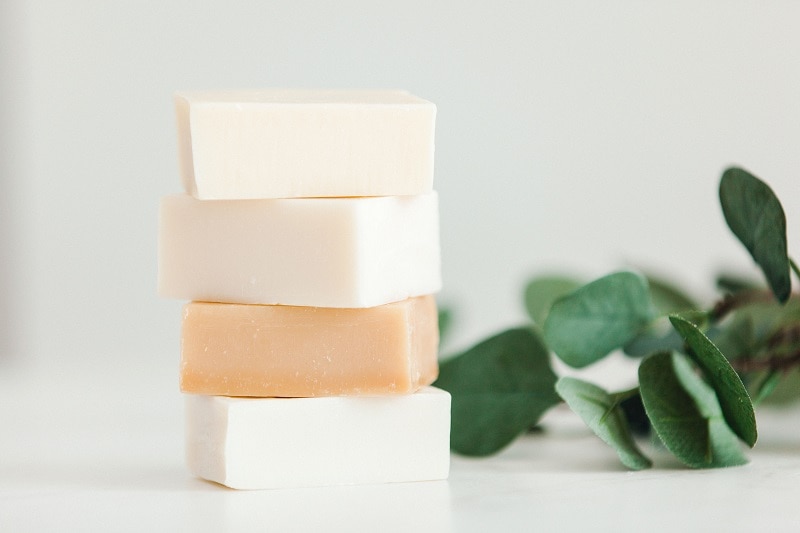
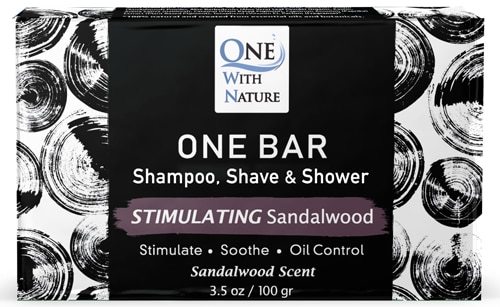
Shampoo bars offer a gentle, eco-friendly alternative. A good
shampoo bar can not only eliminate those harsh chemicals
and single-use plastics, but it can also give you everything that shiny bottle of shampoo promises – but in a gentler format!
What is a shampoo bar?
Like the name suggests, a shampoo bar is simply
solid shampoo. So of course, the question is,
“How is shampoo different from soap?”
Most shampoos and soaps begin the same way: either a combination of fats/oils with an alkaline solution, often lye
or sodium lauryl sulfates. This base allows a soap or shampoo to strip away dirt, grime and oil. The
difference lies in the rest of the ingredients.
What’s the difference between soap and shampoo bars?
Shampoo and soap are not interchangeable.
Because your skin is a living organism that produces its own oils, it can replenish its moisture barrier fairly well. Hair, however, is mostly made of dead cells that don’t have the ability to produce oil. So, if you scrub all the oils out of your hair with regular soap, it will dry out and become brittle.
Shampoos use a variety of ingredients to add oil
back into hair strands, and a quality shampoo bar will do the same!
Benefits of shampoo bars
So, if shampoo bars are just solid shampoo, why are people making the switch? They come with a host of benefits, including:
- Containing fewer, simpler ingredients that are gentle enough for those with sensitivities
- Eco-friendly packaging, plus they save on water consumption because they’re made with less water than liquid shampoo. Less water also means bars offer more potent ingredients because they’re more concentrated
- Cutting down on bottle-clutter in the bathroom
- Cost-effective as they outlast liquid shampoo
- Travel-friendly as they’re compact and leak-proof
- Just plain pretty because they come in all shapes and colors!
How to use a shampoo bar
Depending on your hair type, a little experimentation may be in order to find your perfect shampoo bar.
When you make the switch, keep in mind that your hair might go through a transition period. During those first couple of weeks, you may experience dry or oily strands, but it should clear up once your hair gets used to this new product.
Step 1
Wet your hair, then wet the shampoo bar and rub it between your hands to lather it up.
Step 2
Using your sudsy hands, work the shampoo through your hair, from root to tips. Remember, it’s
still working even if you might not see a ton of bubbles.
Step 3
Rinse your hair, then apply a
conditioning treatment to help lock in moisture.
Bonus step: Apply a natural acid wash every week
Because that shampoo bar contains wax-like ingredients, it can build up on your hair over time. To help break down this build-up, apply a natural acid wash – such as an
apple cider vinegar rinse once per week.
How to make your own shampoo bar
So, with all the hype surrounding shampoo bars, you can either go out and buy some or make your very own – which can be a lot of fun!
Like any soap-based DIY project, it is possible to start from scratch. However, that requires working with lye which can be dangerous. To sidestep that, perhaps begin with a melt-and-pour soap base (such as
shea butter,
glycerin or goat’s milk bases), which helps to gently cleanse hair. Then add one of the following carrier oils:
- Argan oil is popular in many shampoos because it helps nourish and rejuvenate hair.
- Olive oil promotes thicker, longer hair by repairing damage, along with soothing dry, flaky scalps.
- Coconut oil stimulates hair growth and boosts overall scalp health. It’s great for dry hair as well, as it’s ultra-hydrating.
- Castor oil is also very moisturizing, and gentle on the scalp and can ease dandruff.
- Sweet almond oil smells wonderful and is another moisturizer that may help reduce breakage and split ends.
- Avocado oil is rich in oleic acid which is one of the few oils that can soak into the hair shaft, rather than coat it, and moisturize from within.
The recipe below yields two to three bars of soap. It’s a simple process and customizable to your preference and according to your hair type!
How to Make Your Own Shampoo Bar

- 1 cup shea butter or another melt-and-pour base
- 1½ tsp. carrier oil (view options above)
- 25 drops essential oil (lavender, peppermint and eucalyptus all offer great hair benefits)
- Cut the soap base and melt it over medium heat in a double-boiler pot.
- Once melted, add carrier oil and stir until fully mixed. Remove from heat and allow mixture to cool.
- Once cooled, add essential oil.
- Pour mixture into a square pan, or into molds, then let sit for 24 hours before cutting.
 Shampoo bars offer a gentle, eco-friendly alternative. A good shampoo bar can not only eliminate those harsh chemicals and single-use plastics, but it can also give you everything that shiny bottle of shampoo promises – but in a gentler format!


