Gua sha, pronounced
GWAH-SHAH (sounds like something a kung-fu practitioner might yell, doesn’t it?) is an ancient Chinese remedy that’s making a comeback. Traditionally performed to break up stagnant ‘chi energy,’ today gua sha is gaining momentum as a method to unravel sore, stiff muscles, relieve chronic pain and
rejuvenate fascia – the soft, fibrous tissue found all throughout the body.

What is gua sha?
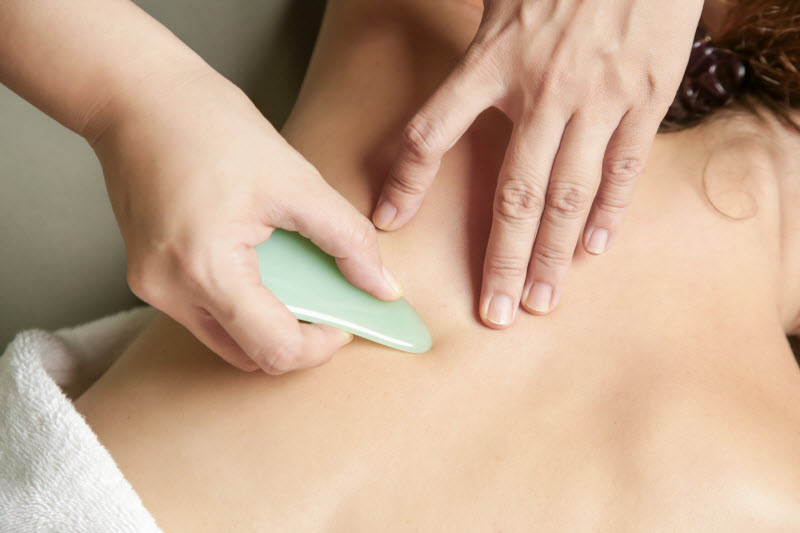
Gua sha is something of a cousin to massage. However, instead of manipulating muscles with hands, a practitioner scrapes the recipient’s skin with a rounded, smooth-edge massage tool (made of stone, jade, plastic, wood or stainless steel).
What happens during a gua sha session?
During a gua sha session, a technician (typically a masseuse) first applies massage oil to the recipient’s skin. Then, using a gua massage tool, the masseuse repeatedly scrapes in a downward motion in both short and long strokes across a person’s face, neck, back, arms, buttocks and legs.
Usually, the technician will start with mild pressure, then gradually increase to determine how much intensity or force the recipient prefers. This movement stimulates microcirculation to soft tissues, increasing blood flow and promoting healing to the areas.
What are the benefits of gua sha?
Besides the physical sensation and promotion of blood flow, the main benefit of gua sha seems to be its potential to reduce inflammation and relieve chronic pain, from joints and muscles to even arthritis and fibromyalgia.
However, gua sha has shown to have a few more tricks up its sleeve. In several case studies, practicing gua sha seemed to:
Although more research is needed, gua sha seems to be a natural inflammation-relieving technique worth trying!
How to gua sha at home
If you don’t have access to a gua sha practitioner, you can perform it right in the comfort of your own home. All you need is a ‘gua’ massage tool, an open mind, and you’re all set!
Step one – Gather your tools
Grab some
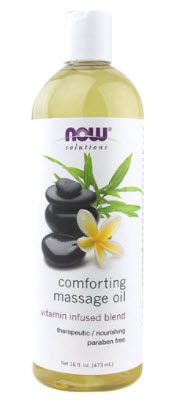
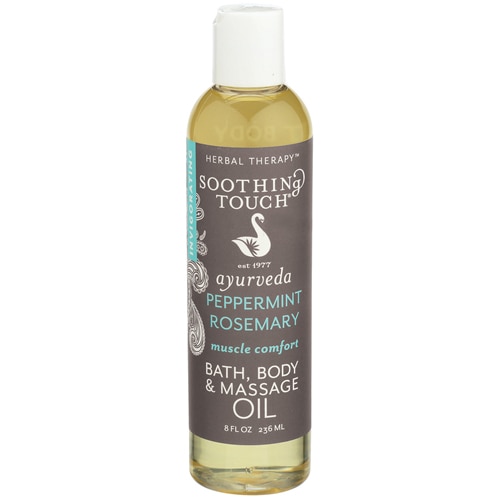
massage oil (
olive oil or
coconut oil will also work) and a ‘gua’ (the scraping tool mentioned above. If you don’t have one, the back of a spoon will do in a pinch!
Step Two – Prep the area
Apply massage oil to the area you wish to gua sha.
Step Three – Proceed to gua sha
Scrape your Gua Sha tool (or spoon) in one direction over a stiff muscle, applying an equal amount of pressure. Typically, you should rub an area of about 2 – 3 inches of skin 6 – 8 times, then move on to another area. Your gua sha session should last about 10 minutes overall.
*While gua sha may feel uncomfortable, it should not be painful, so adjust your pressure accordingly
Step Four – Clean up
Clean your gua sha tool after each session to make sure it stays sanitary. If you plan to use your tool on someone else, make sure to thoroughly disinfect it before and after each use.
Step Five – Relax
Time to take a moment and relax. Pour yourself a glass of lemon water and enjoy being in the moment.
You can gua sha every day or once per week – it’s up to you!
Keep in mind that after your session you may experience soreness, mild redness or even bruising.
Is gua sha safe?
Since this is a natural remedy, it’s generally considered a safe practice. Because gua sha involves scraping the skin, it can cause minor bleeding beneath the skin’s surface – which normally disappears within a couple of days.
*You should avoid gua sha if you’re taking blood thinners from clotting disorders, or are recovering from surgery in the last six or so weeks
Happy gua sha-ing!
Featured Products:


