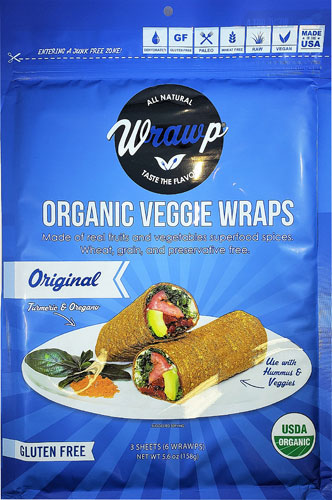
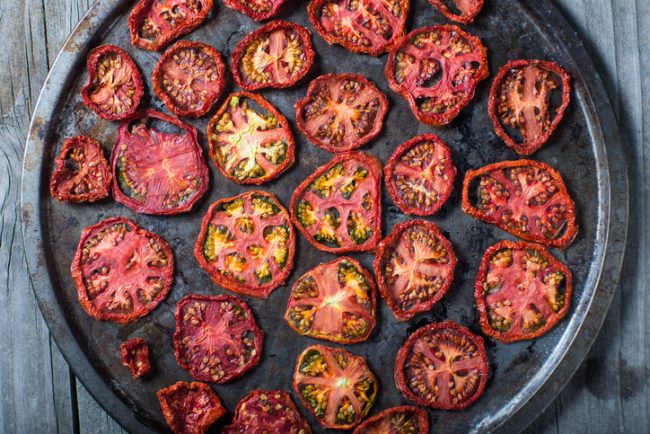
If you’ve never used a food dehydrator, it’s worth getting acquainted with. This unique kitchen appliance is a tremendous asset when it comes to a healthy cuisine and especially for those following a raw vegan diet. Most importantly, it’s cost-effective and simple to use to transform fresh ingredients into crispy snacks.
Forget the processed, flour-based cookies, chips and crackers and start making your own munchies with your new dehydrator (assuming you’re running out and getting one today—wink, wink!).
How does it work?
A dehydrator uses air conduction at a low heat—rather than the high temperatures associated with oven baking—to remove moisture from foods, resulting in products similar to traditional crackers, cookies, granola and much more.
This appliance offers an easy, efficient way to prepare food at temperatures below 115 degrees F, which is widely considered to be the threshold temperature for maintaining nutrients and enzymes.
Using a dehydrator to create healthy alternatives to commercial snacks can help you remain dedicated to this level of healthy eating over time. Plus, making your own nutritious, package-free snacks is extremely empowering!
Start savvy
As a first step, you may want to research some appealing recipes to get you motivated to start using your dehydrator. We love these raw flaxseed crackers, which compliment appetizer platters and help round out soups and salads for a more filling meal.
Another great resource is the Raw Food Recipes blog’s dehydrator recipes page. This extensive collaboration of accomplished raw vegan chefs features veggie chips, hearty crackers, breads, wraps, cookies and more.
Master the basics
No matter what you’re making, the basic procedure typically involves mixing up a dough or batter and spreading it out evenly on a non-stick, reusable lining sheet.
After a few hours, when items firm slightly, you can score dough into cracker or bar shapes, or use cookie cutters. Depending on the density, most recipes take at least 24-48 hours to dehydrate crisply.
Rotate foods after 6-8 hours to help ensure it dries evenly. Do this by inverting another liner and tray over the food, gently flipping the tray, and then removing the sheet that was underneath the dough before placing it back in the dehydrator.
Understanding temperatures
While the idea is to dehydrate items between 105 and 115 degrees F to preserve nutrients, enzymes and flavor, many experts recommend using a higher temperature, between 130 to 140 degrees F, for the first hour. This is beneficial for a few reasons. First, it reduces the time required for full dehydration, as moisture is more rapidly extracted. It also reduces the chances of fermentation during longer periods of dehydration.
Once the water is removed, the food is impervious to many kinds of bacteria that might otherwise grow. Just be sure to reduce the temperature to 115 degrees F (or less) after that first hour. Set a kitchen timer if necessary.
Roll with it
There is a bit of trial and error involved with the art and science of creating dehydrated foods. The key is to enjoy the process as you learn how to get the results you want. Don’t worry if you create something that doesn’t turn out exactly as you envisioned. Just make notes and revise moving forward.
Once you get comfortable with this mode of food preparation, you will be amazed by how crucial it’ll become. Imagine tucking in at night, knowing that yummy snacks are “crisping up” as you sleep. Bonus: you never have to worry about overcooking your food, as long as you keep it under 115 degrees F.
Separate sweet & savory
When you are just starting out, you may prepare one item at a time, but if you find yourself enjoying the creative process of making innovative dehydrated munchies, you might want to prepare several recipes at once—especially since many foods take a couple of days to reach their crispy peaks.
At that point, you may want to either stagger your production, or eventually get a second dehydrator, as it is best not to dry sweet and savory items together. This will ensure that your carrot cake is not infused with a garlic essence from your pizza crackers.
Expand your repertoire
Once you master the fundamentals of raw vegan food dehydration, it’s tempting to explore further options for creating additional healthy alternatives to items you no longer consume.
Perhaps you’re missing delicate scones with your English tea, or taco chips with your guacamole? Maybe it’s chocolate chip cookies that you yearn for—or cones for your plant-based ice cream? Luckily, these items, and countless others, can be replicated beautifully using this ever-so-handy appliance. Ready for another bonus? These treats will be complete free of gluten, dairy, flour, sugar, preservatives and other unhealthy additives.
Making your own snacks over time will allow you to fully appreciate the natural flavors from whole, plant-based food.
Get started with this simple recipe for raw flaxseed crackers.


